I've joined 12 other wonderful bloggers in this grand event, so stick around until the end of this post to see all of their crafts for our First Day of Christmas! By the end of these 12 days, we'll have 144 wonderful Christmas craft ideas :) ...That's a ton more than I can even think about, especially since I maybe only get around to doing like 1 or 2 a year most years.
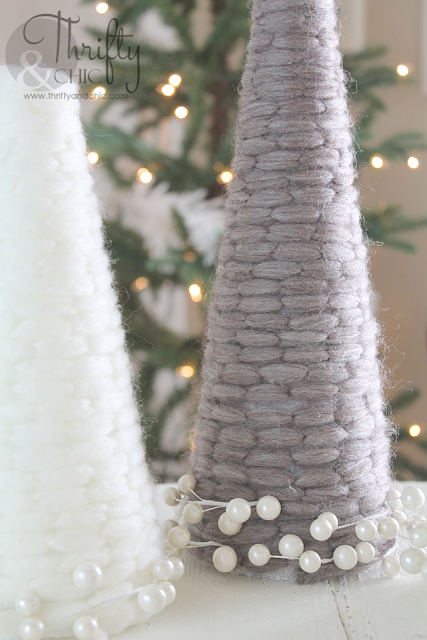
I love my jute Christmas trees that I made a few years ago, so much so that I decided I needed some more of the same. But, this time I decided to use some chunky yarn. I'm not a crocheter or knitter, so I had no idea yarn could come like this. When I saw it, I fell in love. I have a ton left over so I'm thinking some fun projects are in my future :)
Supplies:
Varying height foam cones (found at Michaels)
Yarn (found at Michaels)
Beaded garland
Hot glue gun
This is truly an easy project, even my 1 year old helped (of course not with the glue gun). To start off the piece, I just put dots of glue all along the bottom edge and secured the yarn to it.
Then I twirled the cone and wrapped the yarn around it. I glued mine like once or twice on the way up just to make sure it would stick and not slide anywhere.
When I got to the top, I just put a good dab of glue on the top flat part, and circled the yarn onto it.
Beautiful :)
But, of course, I had to add some fun bling to it. So, I grabbed some old beaded garland and cut off some sections.
I then just bent them a little and stuck the end right into the foam. If the balls were being a little stubborn and not staying where I wanted, I just put a dab of hot glue on them then pressed them down.
Easiest Christmas craft ever :)
Check out all of these wonderful crafts for more inspiration! And be sure to check back tomorrow for our 2nd Day of Christmas Crafts!

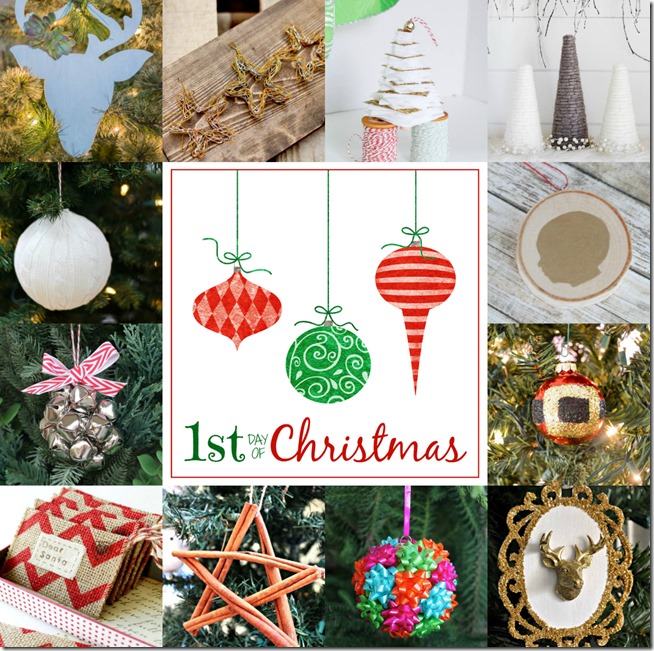
Modern Reindeer Succulent Ornament by Bigger Than The Three of Us | Gold and White Felt Christmas Tree Ornament by May Richer Fuller Be | Wire Star Ornaments by Cherished Bliss | Yarn Wrapped Christmas Trees by Thrifty and Chic | Sweater Ornaments by It All Started With Paint | Gold Silhouette Ornament by Lovely Etc. | DIY Jingle Bell Ornament by The Happier Homemaker | Santa Belt Ornament by Whats Ur Home Story | Dear Santa Letter Ornament by Remodelando la Casa | Cinnamon Star Ornament by Mom 4 Real | Mini Gift Bow Ornament by All Things G&D | Gold Reindeer Head Mount Ornament by Serendipity Refined
*Some of the products used in this post were purchased with a gift card which I received from Michaels.


I just love these yarn-wrapped Christmas trees! I think I need to add this to my must make list this year!!! And so happy to be Christmas crafting with you this year!
ReplyDelete:) Linda
These are super cute and classy! Love that chunky yarn!
ReplyDeleteThese yarn-wrapped Christmas trees are totally on my to-do list this Christmas. Yours turned out beautifully, Alicia!
ReplyDeleteOh yeah, love that chunky hunky yarn. Hope it's not too much as I sure want to use some for cones. I buy the paper mache cones which are much less expensive than the foam cones, yikes. These will be so pretty, would love if there was silver or gold yarn but guess some spray paint on white yarn would work? Your trees are so pretty and you make it look so easy to do, how long did it take to wind yarn around a cone? I'd better load up on hot glue so I'll have enuf when I get started.
ReplyDeleteLiving out in rural area which is great but hard when you run out or need supplies, have to get what you need before you start working on your projects. I learned that hard way in Mt in winter. We lived 32 miles over some ruff 10% grade roads to get supplies. Needing something late at night is not conducive to crafting. My hubs was gone on road so I'd craft late at night. Now we live out 18 miles west of Grand Junction, CO so no running to town "real quick" to get things I need. In between MT and CO we lived out about 30 miles in KY. So I learned hard way to think about what I needed before I left for town.
I was in Helena one time at Ben Franklins when a blizzard came up so I had to drive home in it. Not fun believe me with wind blowing snow all over including blowing my Suburban all over road. We lived in San Diego before MT.
So if you live close to craft stores where you live and can send hubby out for what you need it's great, enjoy it, lol.
Enjoy the season.
I've seen trees like this in the store that are way out of my holiday decorating budget... but these are CUTE and I can totally do this in-budget. Thanks for sharing!
ReplyDeleteVery sweet -- great use of Patons Cobbles yarn! :)
ReplyDeleteThis yarn is perfect for these Christmas Trees! Beautiful!! Pinning!
ReplyDelete