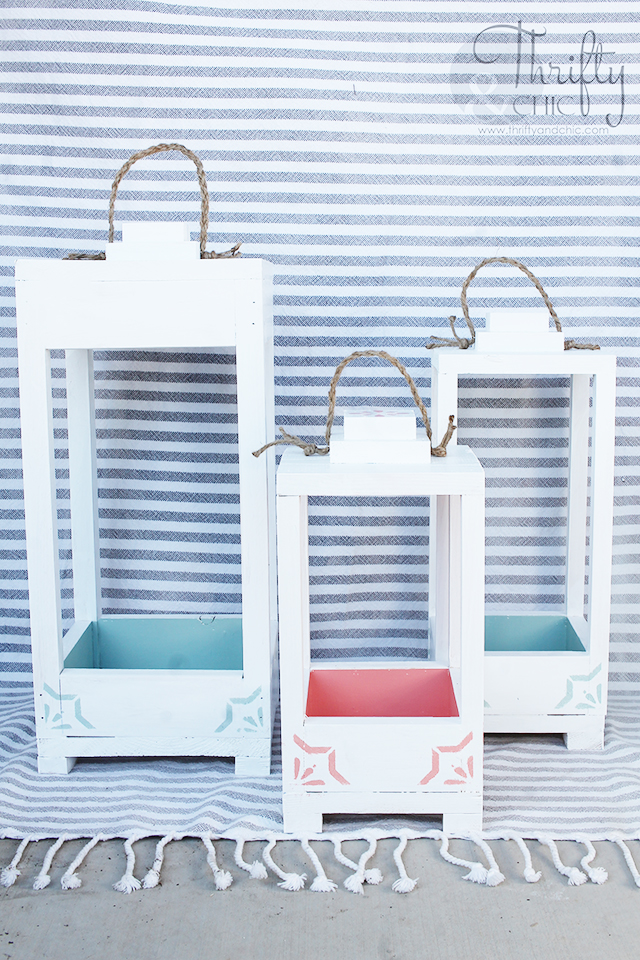
Today, I'll be sharing with you a tutorial on how to make one of these, in three varying sizes.
Supplies:
Wood glue and/or 1 1/4" brad nails and nail gun
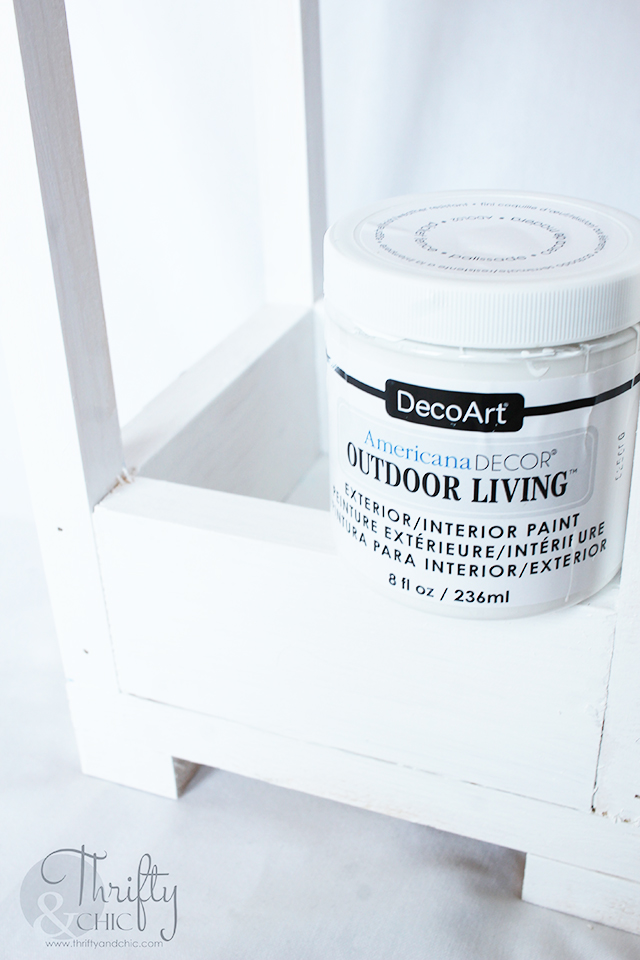
DecoArt AmericanaDecor Outdoor Living Paint in: Picket Fence, Wildflower, and Frosted Glass.
DecoArt AmericanDecor Mediterranean Tile Stencil
Jute
Staple gun
Step 1
DecoArt AmericanDecor Mediterranean Tile Stencil
Jute
Staple gun
Step 1
(this tutorial is for the largest lantern. It will be similar for the smaller ones besides size and minus the 1x3s at the top):
Secure the wood dowels to the corners of the 1x10. The easiest way to do this is to stand two dowels up vertical, place the 1x10 on top and then shimmy one of the dowels to one corner. Secure with wood glue and nails. Then do the next corners with the other dowels.
Step 2:
Secure the wood dowels to the corners of the 1x10. The easiest way to do this is to stand two dowels up vertical, place the 1x10 on top and then shimmy one of the dowels to one corner. Secure with wood glue and nails. Then do the next corners with the other dowels.
Step 2:
Measure the distance between each dowel. Cut the 1x3's to that size. Reminder that each side might have a slightly different distance. Secure the 1x3s to the outside part of the wood dowels making sure they are flush on the outside.
Do the same to the top part against the other 1x10.
Step 4:
Do the same to the top part against the other 1x10.
Step 4:
Now it's time for the top. First, place the 1x4 in the direct middle of the 1x10. Secure in place. Second, place the 1x3 on top of the 1x4, centered. Secure in place.
This finishes up the wood part of the lantern. It should look like this.
For the smaller lanterns, I decided not to put the 1x3s on top just because they are smaller and it took up too much visual space.
Step 6:
This finishes up the wood part of the lantern. It should look like this.
For the smaller lanterns, I decided not to put the 1x3s on top just because they are smaller and it took up too much visual space.
Step 6:
Paint all the lanterns with Outdoor Living Picket Fence. This took about 2-3 coats for full coverage. Or another option would be to pick a stain.
Step 7:
Step 7:
Paint the inside bottom and top of each lantern. I chose Wildflower for my small sized one. This took two coats.
For the largest and medium sized lantern, I chose Frosted Glass.
Step 8:
Use the Mediterranean Tile stencil and add some embellishment. I chose to do the bottom corners of each 1x3.
And I also stenciled the top.
Step 9:
And I also stenciled the top.
Step 9:
Add the handles. Take three pieces of jute cut at about 10" each. Knot one end, braid, and then knot at the opposite end.
Secure the jute into the 1x4 using the staple gun.
Here are the finished lanterns!
These are great and big enough to add a lot of things in. Keep them empty, fill with faux flowers or potted flowers. You can even add some battery lit candles.
I chose to use the faux variety of plants in my lanterns since we don't have many growing plants yet besides the one in the back.
Here's a good look at the colors from above. It's almost so pretty that you wouldn't want to add anything in them, which is what you want! Something that looks good on it's own, but totally works with additions.
The way that I see it, even though it's still cool outside, warmer weather is on it's way and it's definitely never too early to get started on all those outdoor projects! Plus, this is a great project that can be used for indoors too!
Disclosure of Material Connection: Some of the links in the post above are “affiliate links.” This means if you click on the link and purchase the item, I will receive an affiliate commission. Regardless, I only recommend products or services I use personally and believe will add value to my readers. I am disclosing this in accordance with the Federal Trade Commission’s 16 CFR, Part 255: “Guides Concerning the Use of Endorsements and Testimonials in Advertising.” Disclosure of Material Connection: I received one or more of the products or services mentioned above for free in the hope that I would mention it on my blog. Regardless, I only recommend products or services I use personally and believe will be good for my readers. I am disclosing this in accordance with the Federal Trade Commission’s 16 CFR, Part 255: “Guides Concerning the Use of Endorsements and Testimonials in Advertising.”


0 comments