Over the past few years, the stairs to our patio have been completely neglected. The rest of our patio has looked better than ever, but the little "entrance" to it? Not so much :) It seriously looked like it was falling apart, and we literally had 3 grills and 2 smokers stacked around the sides of it. Why? I have no clue. My husband would need to answer that for you. Besides the grills, we had a lot of junk that just got stuck under the stairs that we never used. So, after convincing my husband that we needed to get rid of practically all of it, I got started on making the space a little bit more appealing to the eye.
I'll share with you how I transformed the railing and stairs soon. Besides that makeover, I envisioned an awesome planter or two on the sides of the now clean stairs. So, I got to work. Let me tell you, this was just an idea I came up with in my head and somehow, it totally worked....perfect measurements and all. Love it when that happens
Here are the supplies:
12 - 1x6 cedar planks @ 14"
4 - 2x2s @ 18"
2 - 1x3s @ 14"
2 - 1x3s @ 17"
-----don't cut these bottom pieces before hand, measure and make sure they are correct on your piece-----
2 - 1x4s @ 11" smallest side, miter cut
2 - 1x4s @ 14" smallest side, miter cut
2 - 1x6 cedar planks @ 13"
1 - 1x4 @ 13"
Wood glue
Nail gun and 1" nails
Jigsaw
Outdoor paint
Step 1: As I suggested, cut and measure as you go past this first few cuts of wood. Cedar, although it's great for outdoor projects, it has a mind of it's own sometimes. The 14" cedar pieces and 2x2 are the easiest pieces where you can pre-cut your wood all at the same time and have it still work :)
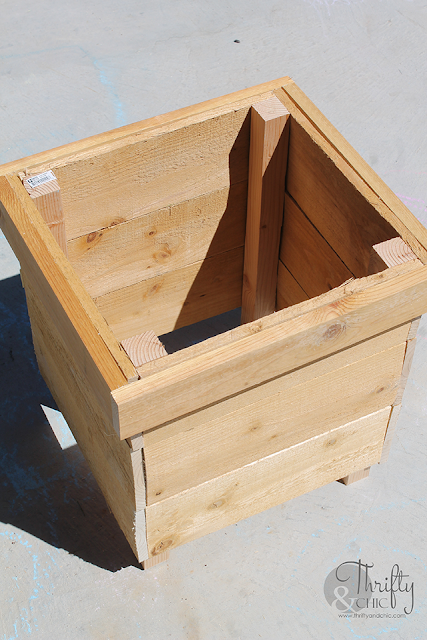
Step 2: Connect 3 pieces of cedar to two of the 2x2s (one on each side), lining up the top piece of cedar flush with the top of the 2x2, then work our way down securing it with wood glue and nails. Do this twice, so that you have two sides.
Step 3: Stand the two sides up, and start securing 3 more pieces of cedar along the now top. Make sure the cedar you are securing is flush with the top of the piece and all sides.
Step 4: Flip the piece over and do the same thing in step 3 with the fourth side.
Step 5: Now secure one 1x3 that was cut at 14" onto one of the shorter sides, flush with the top. Do this with the opposite side with the second 14" 1x3.
Step 6: Next, on the sides that still need the top 1x3, measure the length you will need to cut your next 1x3, this should be the 14" plus the two additional widths of the adjoining 1x3s on the sides. Mine are 17".
Do the same thing to the opposite side and secure the 1x3s.
Step 7: I miter cut two 1x4s at 11" on the smallest side. I then secured them to the shorter sides along the top of the planter. I secured these in place.
Step 8: Now depending on where you ended up placing the pieces in step 7 will determine the length of your next cut. Make sure you cut them with a mitered edge. The small side should measure the distance between your two pieces (on their short sides) from step 7. Mine are 14". Secure these into place.
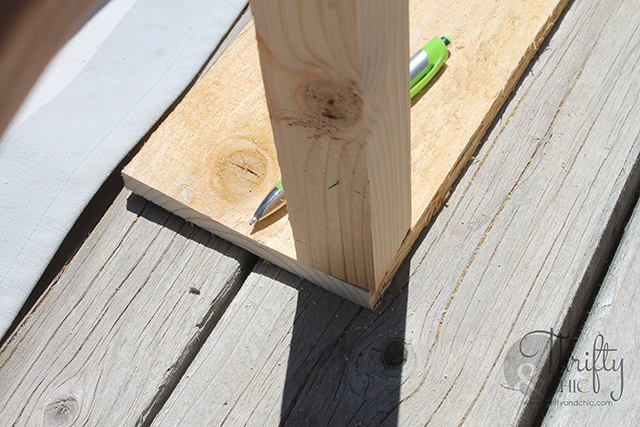
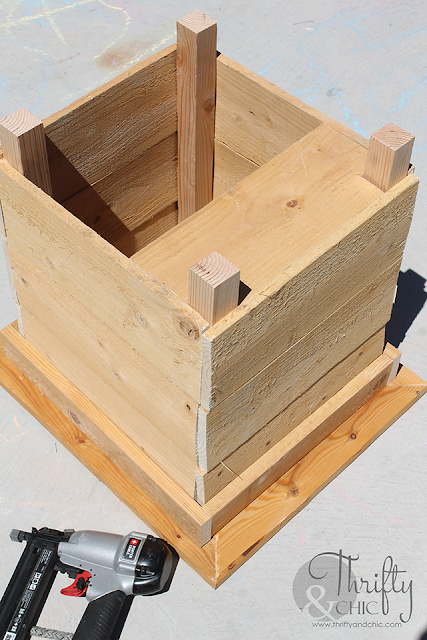
Step 9: Now it's time for the bottom. I took two of the 13" cedar pieces and traced out a square using my 2x2 on two corners. Having the two corners be on the side that has the longest length between them.
I then used my jigsaw to cut out the corner squares.
Step 10: I placed the cut cedar piece into the bottom of the planter. This should be a pretty tight fit if you measured and cut correctly. I secured this in place with nails going all along the edges.
Do the same thing with the other cut cedar piece. At this point, you should have a gap in the middle just big enough for a 1x4 cut @ 13".
Secure that 1x4 into place. There is a small gap between the bottom layers of wood, which I wanted for drainage.
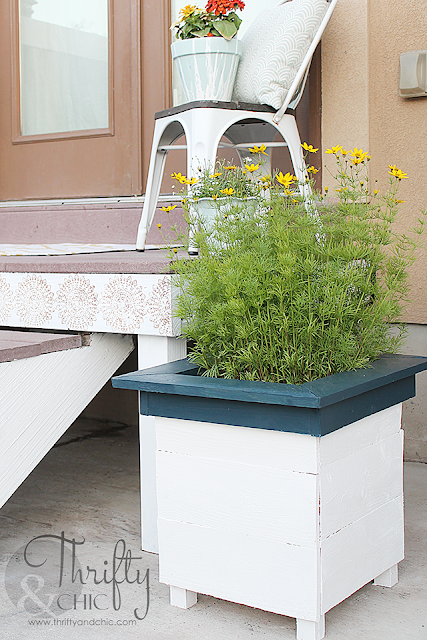
Step 11: Paint it! I used some durable outdoor paint to paint mine. I have a navy turquoise on top...yes, I just made that color up :) It was a mixture of black and turquoise. I then added white to the bottom for a clean look.
Next was adding my plant! I had envisioned something big for this pot, and this Threadleaf Coreopsis was perfect!
This area is seriously so different now! I wish I had taken a picture of when it was a complete mess. I have one before picture, but that was after it was clean up.
I just love how inviting it is now. Before, even though the rest of my patio looked great, I hated being outside because I was constantly drawn to this eyesore. Now it's actually enjoyable to be out here, and even sitting on these steps! My plan is to make another one of these for the opposite side of the stairs. I bought enough wood for it, now I just have to find time to do it...hopefully before summer is gone! :)


0 comments