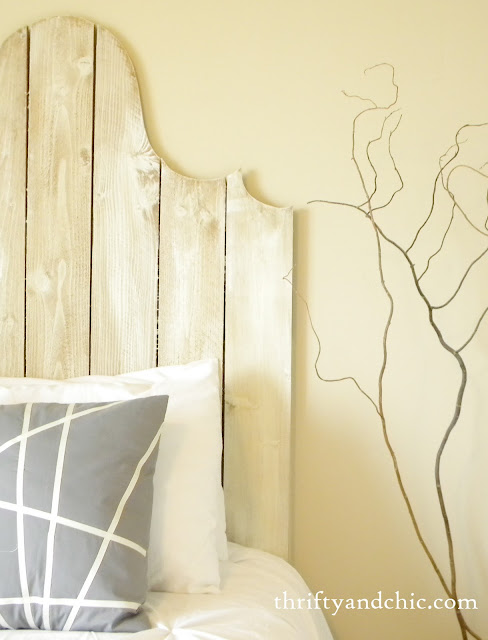
Here's a tutorial on the nice little striped one that found its home on the bed.
So first off. You need:
- Fabric.
- This Tutorial -my 10 minute pillow cover :)
- Ribbon
- Iron on hem
- Iron
- Sewing Machine
You'll want to pin the fabric 'square' in place around the edges so it stays in place. Then you'll want to get your ribbon and kind of just have fun with different designs with the it. I pretty much just cut 10 or so pieces at the same length, some a little longer than the others for the diagonal stripes. Then when I got an idea in my head of where I wanted the pieces.....
I took the iron on hem and cut it to the length of one piece of ribbon and placed it between the ribbon and fabric exactly where I wanted the ribbon to live. Make sure you leave some allowance on the both ends of the ribbon. The iron! Do this with all the ribbon pieces.
If you wanted, you can then take out all the pins and send the fabric and ribbons through a sewing machine to create a stitch on top of the ribbon as shown above. You don't have to do this though, this is more for just decoration and character.
Once you place all the ribbons on the fabric, you should have a good crease on the sides of the fabric that have been folded over. This will assist you with the next step. Undo all the pins and then turn the fabric right side in and refold to the same dimensions as before -use the creases to make it the same size.
Next sew along the open edges to close your cover -as shown in the tutorial. Hopefully you'll have some ribbon pieces in the stitch.
But on some, you won't. Especially the sides that didn't need the stitch. They should be hanging over like this.
All you have to do to fix this is cut the ribbon making it parallel to the 'seam'. This one was pretty close to a straight cut.
But this one was more of a diagonal cut.
And there you have it! Its a little more interesting than just a plain ol' bluish grey pillow, huh?
I like the juxtaposition of the somewhat modern feel of the pillow compared to the french script pillow in front of it and the headboard. Just adds a bit more interest.
Just an FYI. I tried sewing each ribbon on individually before the iron on technique. It could work if you had a lot of patience. But it was a complete disaster for me. The ribbons wouldn't stay in place and kept moving out of line and bunching up and ....I can go on and on. It just wasn't pretty. That's why I opted for the iron on technique...and then once they are all securely in place, go to town with the sewing machine. So much easier that way :) Trust me.
Next week? The full office reveal! Finally. I'm half tempted to show you the before of the office, but I'm going to hold out cuz right now I don't feel like being completely mortified and embarrassed :)


Oooo it's so pretty!! i'm pinning this right now!
ReplyDeleteThe pillow is beautiful, but your headboard is to die for! Just lovely! Please stop by to enter my digital scrapbook giveaway!
ReplyDeleteI love the whole thing! I'd like to do it in black and white!
ReplyDeleteXO~JD
www.jessiedmiller.com
Awesome! Looks like it came straight from the pages of West Elm!
ReplyDeleteRibbon strips are really increase beauty on the pillow covers.Different color pillow colors has suit different color strips.
ReplyDeletelyrics of song
I am randomly choosing this post of yours to comment on - there are far too many good posts here!! I could comment on all. Great, creative stuff. Love it - following you from now on. Cheerio from Ireland!
ReplyDelete