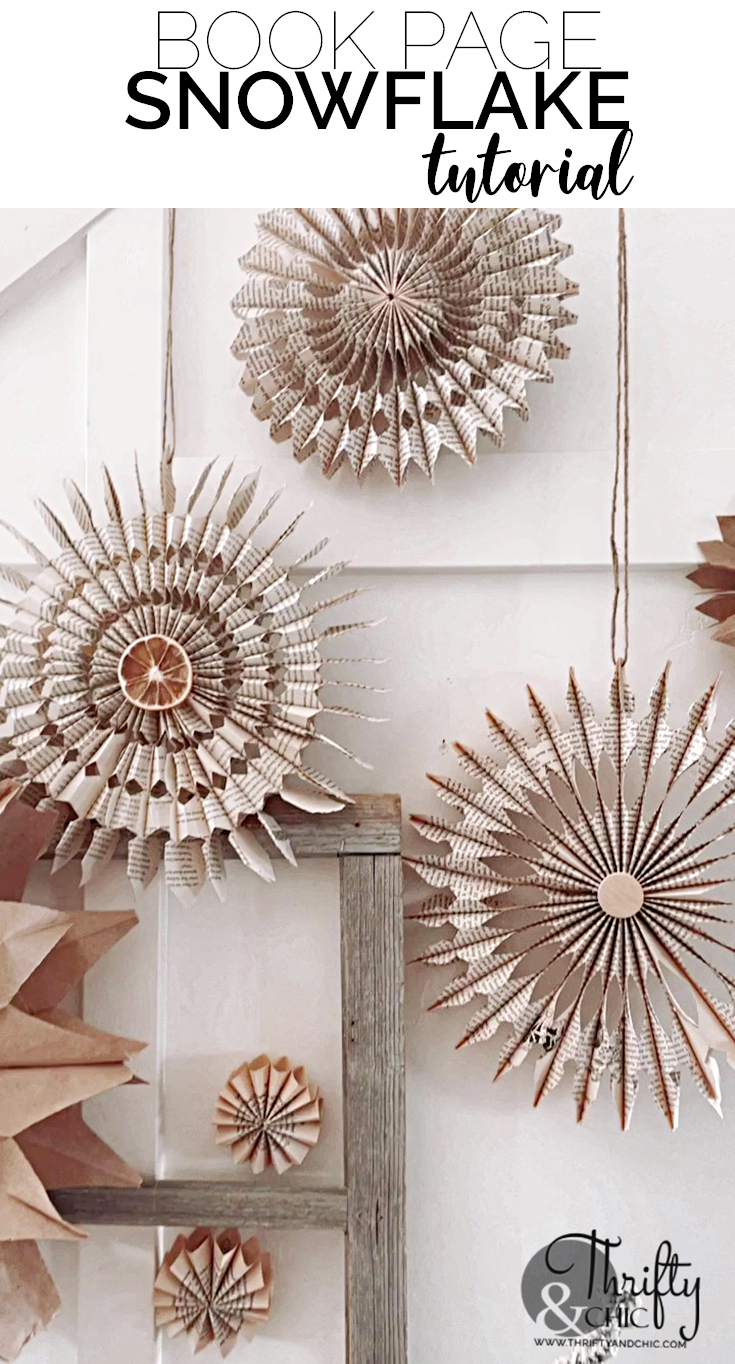
The weeks before Christmas is all about crafting for me, for some reason. It's like a tradition I didn't even realize I was doing :) Making wreaths, snowflakes, dried oranges, christmas trees, stockings, ornaments, candles, etc....lots of stuff! With all of those going, I try to document some of them to share with you. Today, I'm sharing these super easy book page snowflakes. Easy for you because I made like 5 of them and figured out what to do to make it work! I did a super sped up video of the tutorial on my Instagram, but wanted to do a picture tutorial for you all who really want to see how it's done.
Supplies:
An old book, at least 24 pages if not more.
Scissors
Hot glue gun/glue
Small disc or item for middle
Jute
Step 1:
Grab an old book, whatever size you want. The bigger the pages, the bigger the snowflake. The wider the pages, the more space between each section. I grabbed this book from a local thrift store. It's already been loved and read, and has some good coloring. Also, it's an age appropriate book for my littles just in case they decide to read the snowflakes :)
Start tearing the pages out of the book...carefully :) You'll want at least 24 pages, if not more.
Step 4:
Step 4:
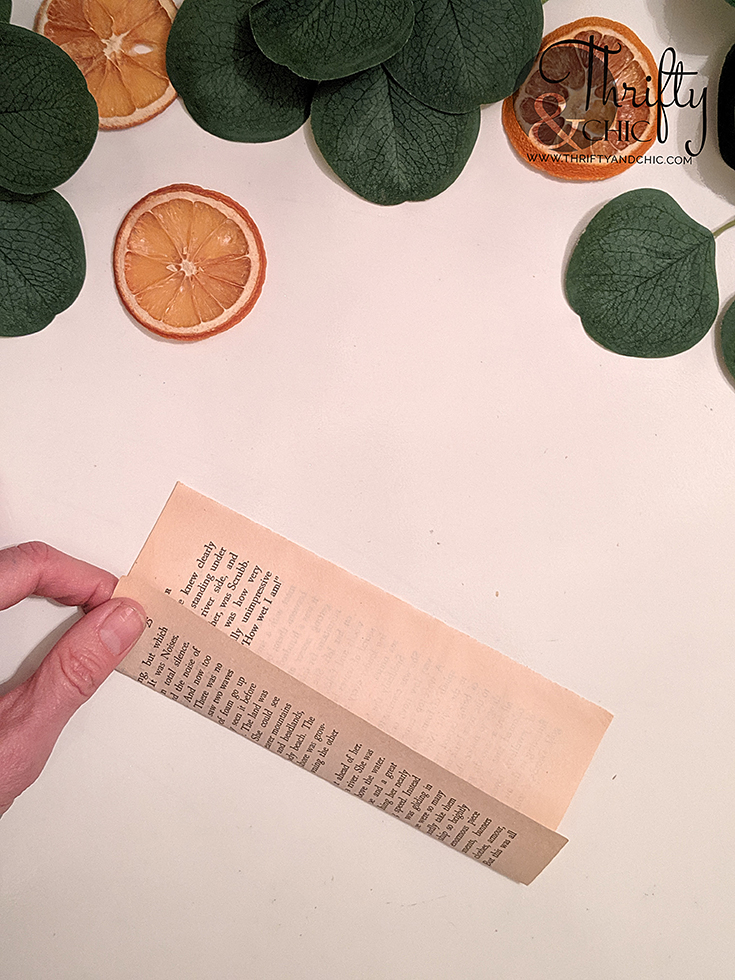
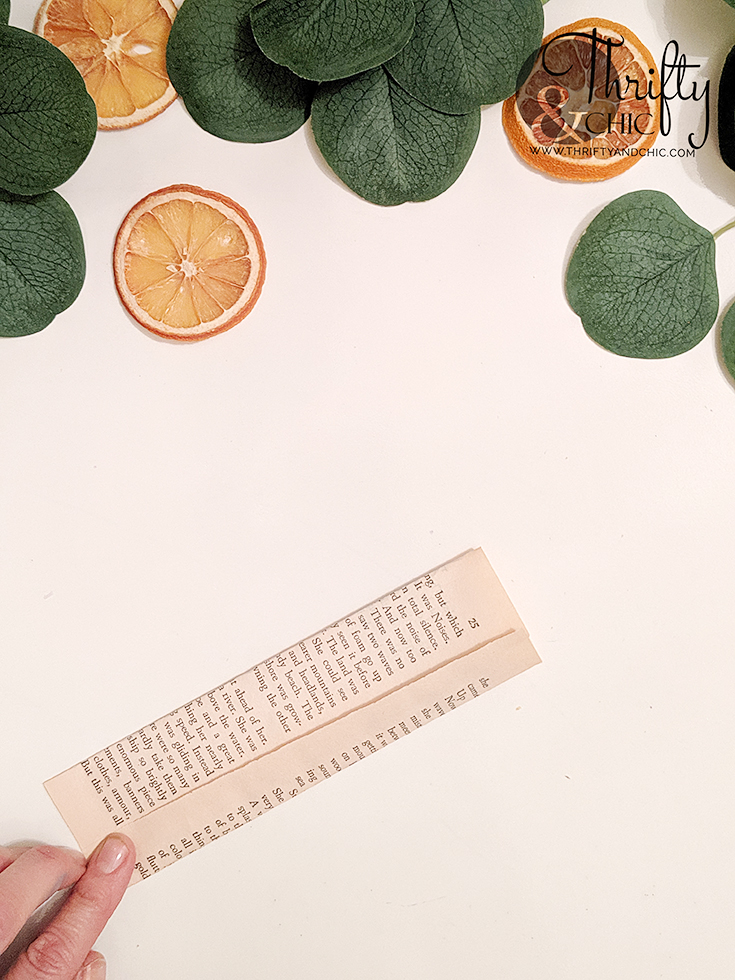
Start with a "master" page, and fold it, not quite into thirds. The wider these folds the better since that's where you'll be getting the give to make the paper snowflake open up. Otherwise, you'll need a lot more book pages. I used about 24-28 pages per normal size book page snowflake.
Now using the "master" page, do some bulk folding and fold like 5 pages together at the same time. You don't want to go over this otherwise the folds will be different on the outer pages of the stack. Just make sure all the book pages are pretty close to the same width once folded.
Step 5:
Now using the "master" page, do some bulk folding and fold like 5 pages together at the same time. You don't want to go over this otherwise the folds will be different on the outer pages of the stack. Just make sure all the book pages are pretty close to the same width once folded.
Step 5:
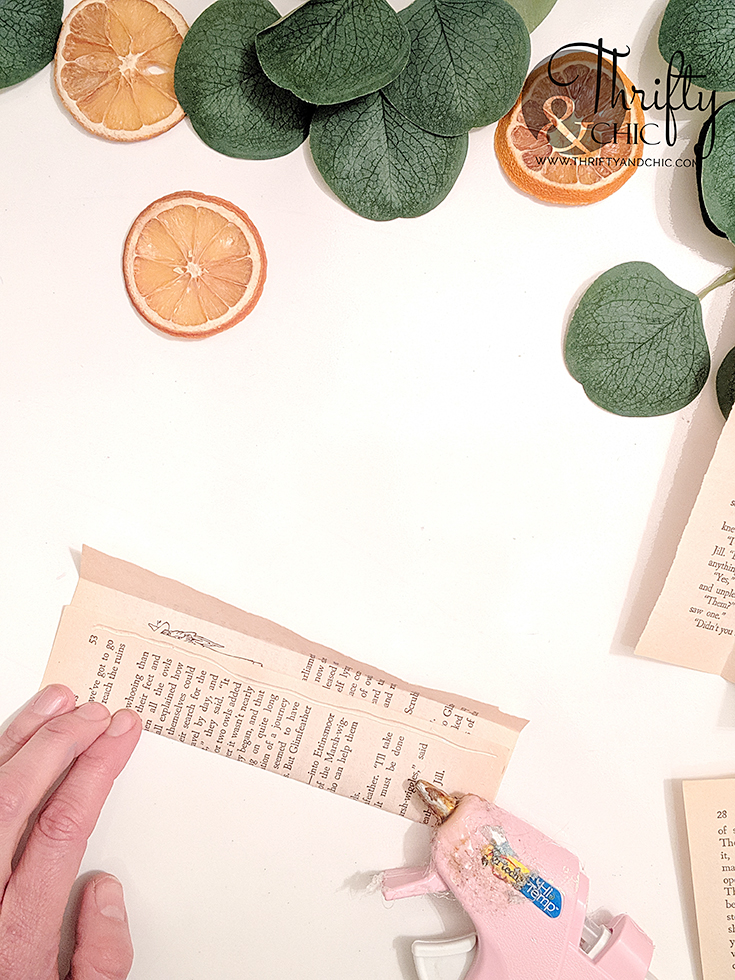
Hot glue the left fold onto the middle fold just along the bottom.
Then place a line of hot glue on the far left edge of that first fold, and secure the right fold on top of it.
Now do this for all the pages.
Then place a line of hot glue on the far left edge of that first fold, and secure the right fold on top of it.
Now do this for all the pages.
Step 6:
Add a line of hot glue down the middle of one page, and then secure another page right on top of it. Continue to do this into two stacks. This will make it more manageable in the next steps for cutting. It's important to do a small single line right down the middle or the book pages won't open up much....trust me, I tried...and like 50 book pages later on one snowflake and it still wasn't working. Learn from my mistakes :)
Step 7:
Step 7:
Free cut or trace your design onto one stack. It's fun playing around with different designs to get different looks. Also, cutting off the top inch will make it smaller if you want varying sizes out of the same book.
Step 8:
Step 8:
In order to open up/unfold the snowflake, you'll need to cut through the first design from the top creating more give. If you don't, you may need to add more pages. This also gives it a pretty look when opened.
Step 12:
Step 11:
Now open to make sure you don't need to add any more pages...if both sides do not meet, then you'll need to add more. If they do meet, then hot glue a line down one side, and unfold open again and secure into the place.
Step 12:
Make the middle look pretty with some discs or dried fruit or whatever you want! This also helps secure the book page snowflake a little more.
Step 13:
Step 13:
To hang, either staple a piece of jute or ribbon to on section, or hole punch a section and string it through.
These are such a fun take on the old paper bag snowflakes...but totally different! You can use this same technique of course with any paper! I have another tutorial using these coming soon!
Pin for later:
Disclosure of Material Connection: Some of the links in the post above are “affiliate links.” This means if you click on the link and purchase the item, I will receive an affiliate commission. Regardless, I only recommend products or services I use personally and believe will add value to my readers. I am disclosing this in accordance with the Federal Trade Commission’s 16 CFR, Part 255: “Guides Concerning the Use of Endorsements and Testimonials in Advertising.”


0 comments