I've been crafting it up the past week and have so many easy Christmas crafts to share with you! I have yet to get around to sharing any so far and it's two days before Christmas :) I'll be sharing more with you next week also in hopes that it gives you some inspiration for next year! Luckily, lots of the Christmas crafts go straight into winter decor, bonus!
Today, I'm sharing how to make these super easy Coffee Filter Christmas trees...well technically coffee filter and cupcake liner Christmas trees ... or winter trees. I saw these at a party and knew I had to figure out how to make them! I figured it out and wanted to share them with you. We will be making a ton of these next year as the centerpieces for our family Christmas party. It'll make a fun girl craft night for sure!
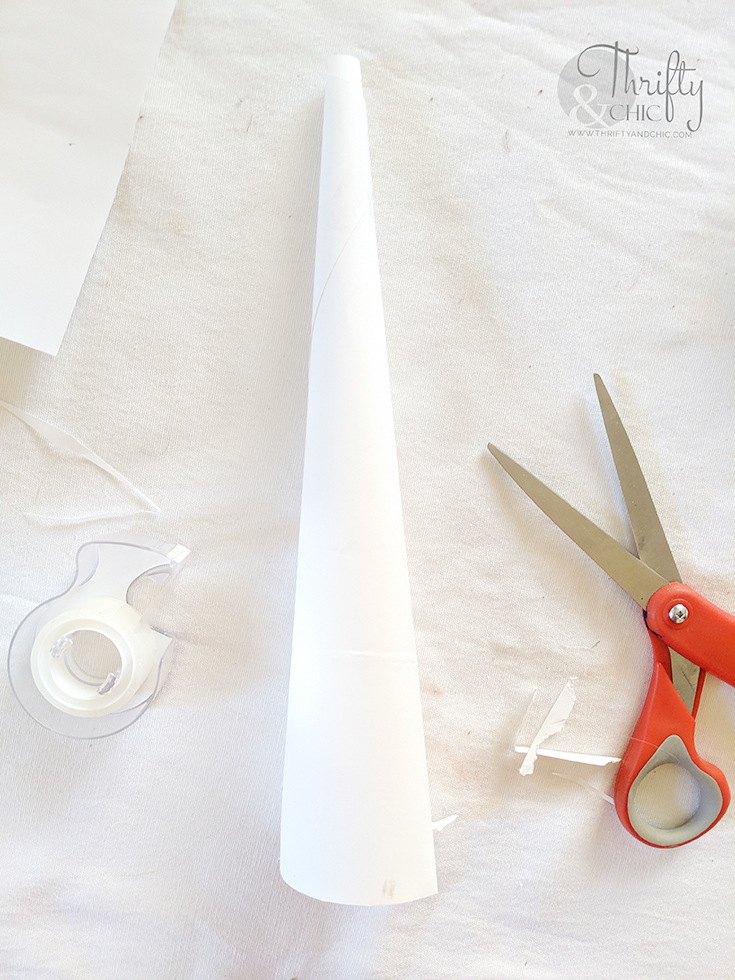
Make 3 different varying sized cones. My smallest is about 8 inches which I used just normal printing paper for. The tallest is about 12 inches. I used white square cardstock for this one. I simple just roller them up until a cone shape appeared and then taped the edge down. I cut the bottom to be straight.
Step 2:
Step 2:
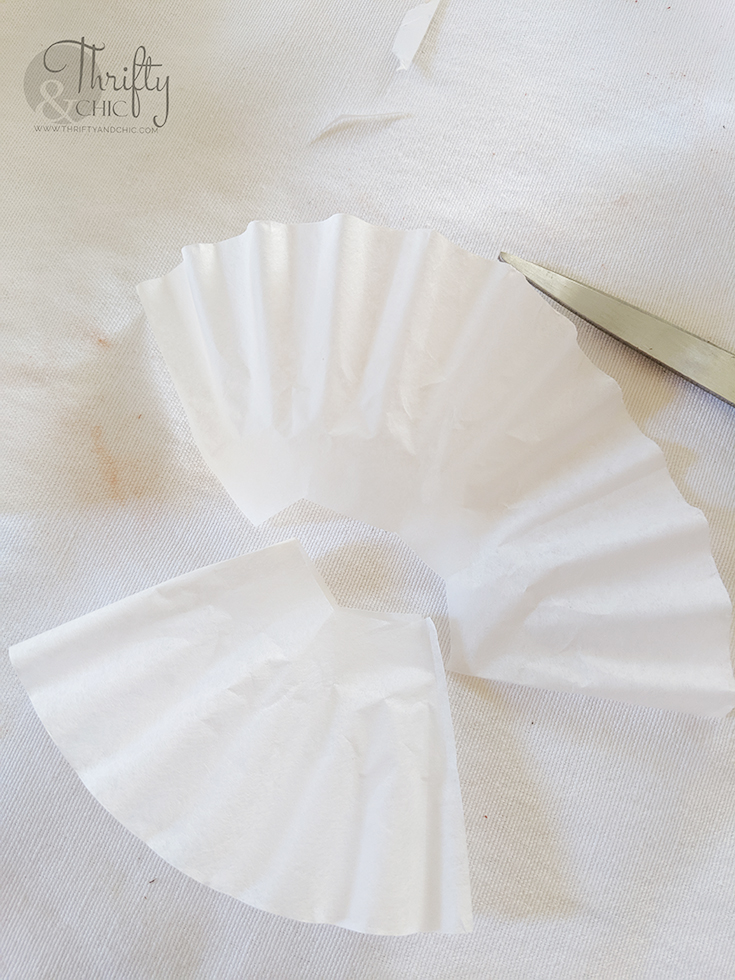
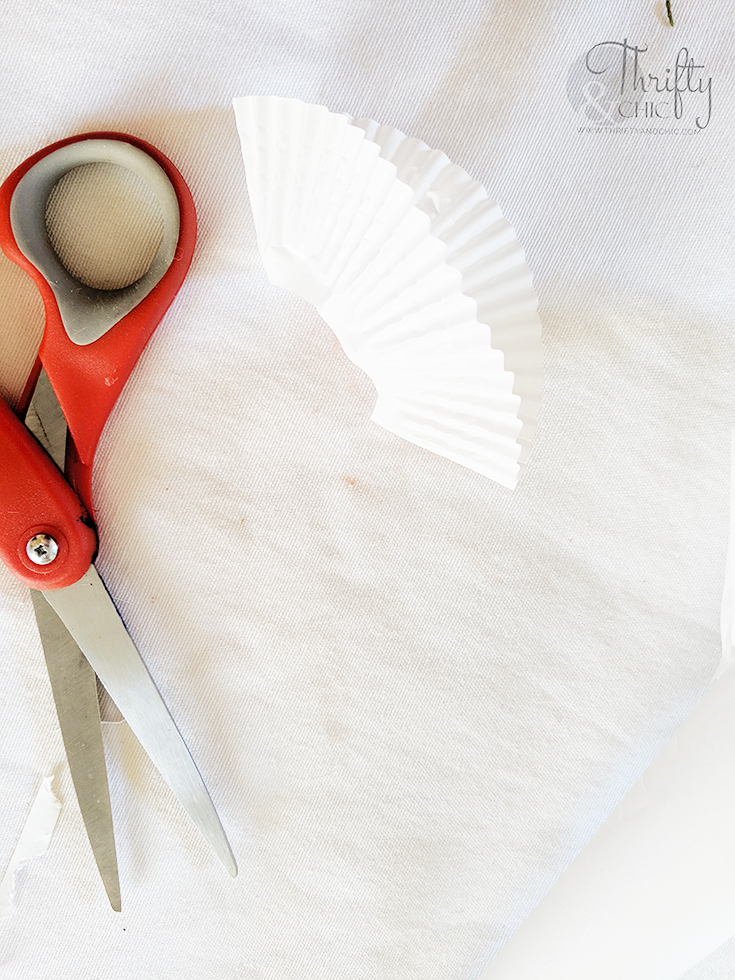
Starting with the coffee filters, fold and cut out the middle circle. Then cut in half and fold over. This is what they should look like after doing those three things:
Step 3:
Step 3:
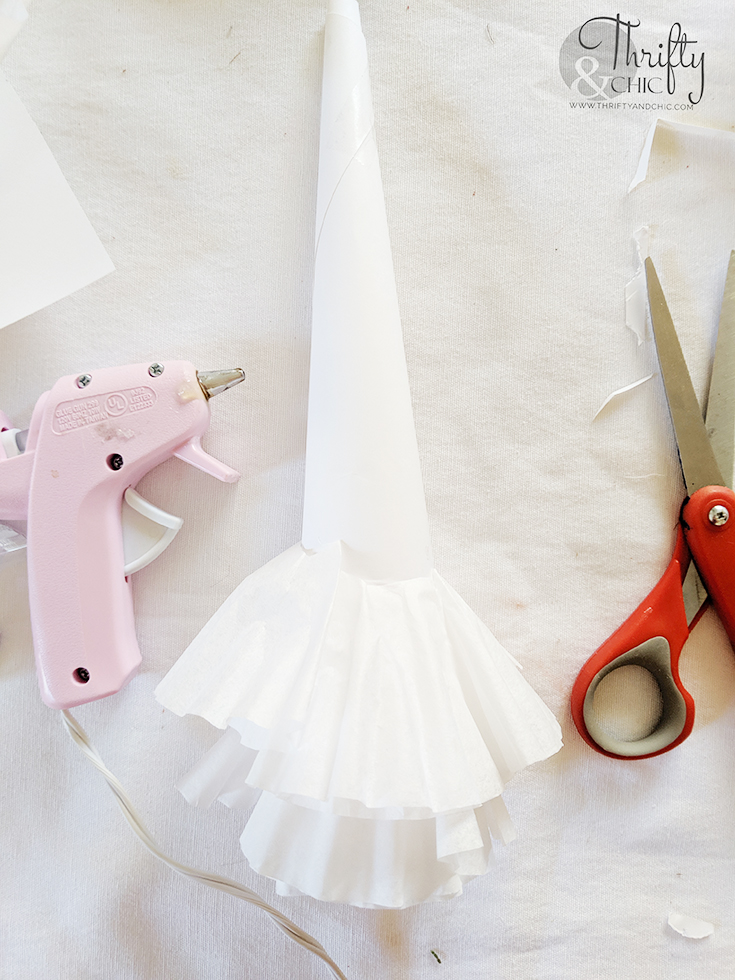
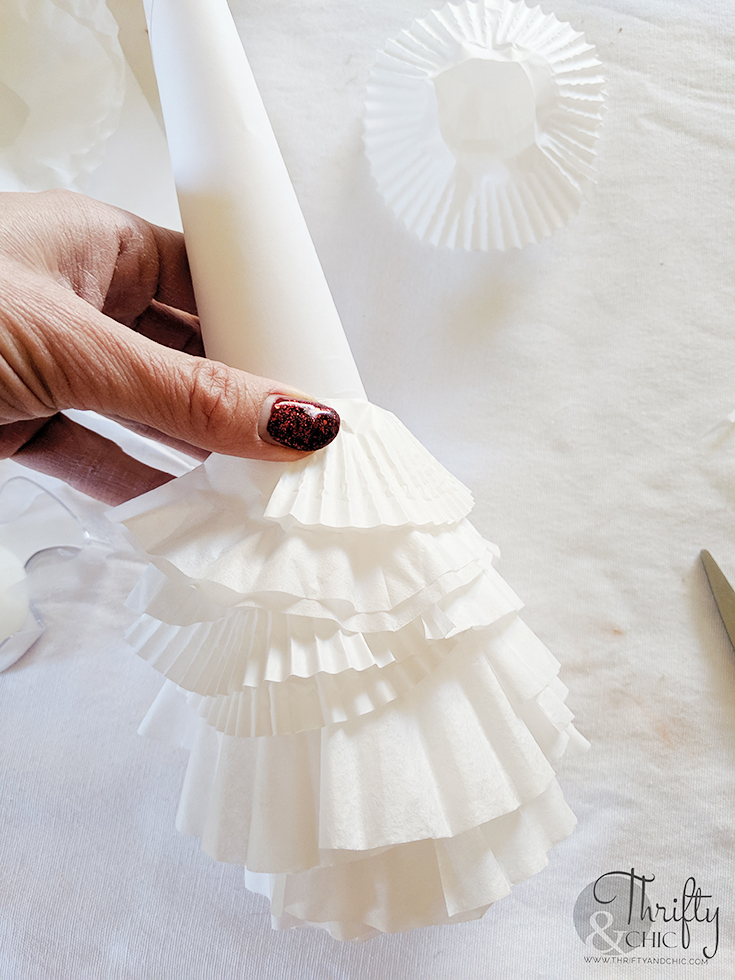
Using hot glue, secure the folded filters along the bottom of the cone. I made them go just about a centimeter or so past the bottom of the cone. I placed them randomly as I went up to the next rows. If you find that the filter keeps opening at its fold, just glue it.
Step 4:
Step 4:
Now for the cupcake liner! Fold and cut out a circle in the middle. You can use it like this, or if you prefer smaller sections, cut in half and do as you did above with the coffee filters. I used both ways throughout the tree to give it more flow.
Step 5:
Step 5:
Glue these onto the cone and start alternating with the coffee filters. When you get a little higher, you'll notice that the filters are too long. I didn't want to do just liners so I trimmed the outside edges of the filters to work with the graduation.
Step 6;
Step 6;
To finish the top, do a really good dollop of hot glue on the top and place a whole cupcake liner on the top, trying to make the middle come to a pointing peak. Fold the liner around and secure with hot glue.
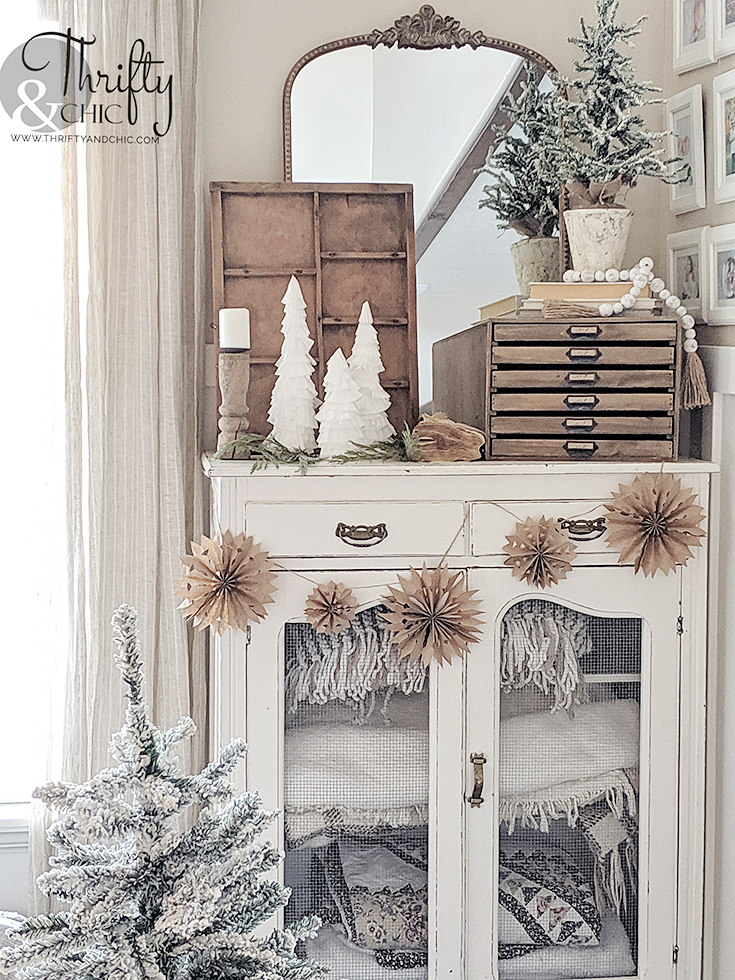
And it's done! I just love how these turned out. I wish I had made them sooner in the season to enjoy them more! I'm exciting to make more for our Christmas party next year.
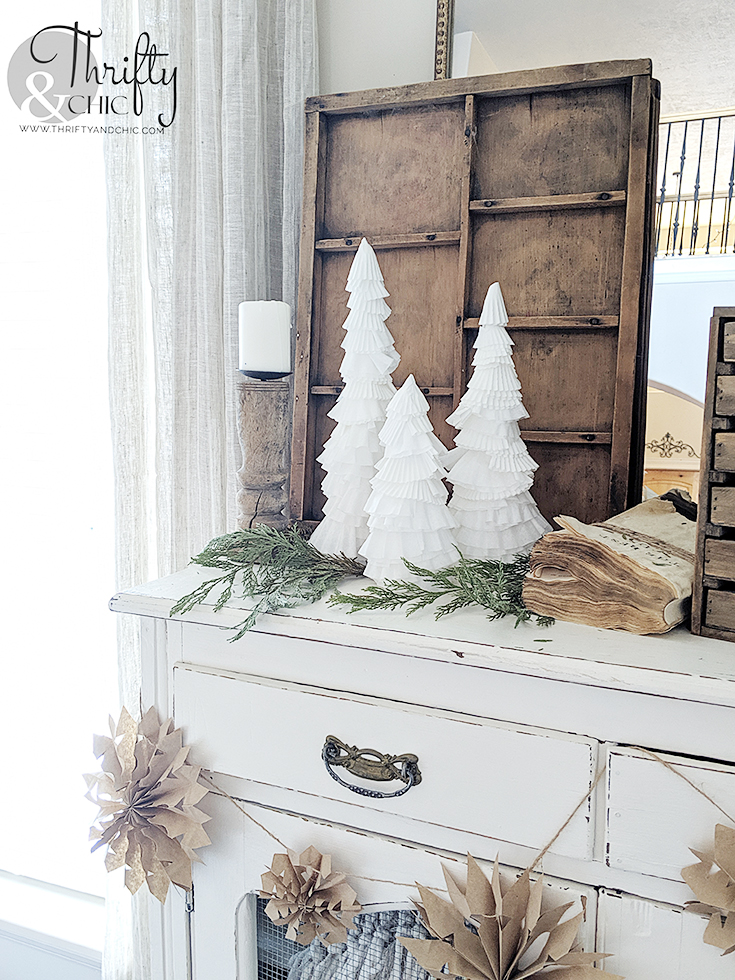
I placed them on my old pie safe I finally brought into my living room. I love this little corner! Adding the little amount of fresh greens at the bottom of the trees helped complete the look.
I'll be sharing how I made those cute little snowflakes next week!
And it's done! I just love how these turned out. I wish I had made them sooner in the season to enjoy them more! I'm exciting to make more for our Christmas party next year.
I placed them on my old pie safe I finally brought into my living room. I love this little corner! Adding the little amount of fresh greens at the bottom of the trees helped complete the look.





0 comments