This post contains affiliate links.
Hasn't this year been a weird one? I think we can all agree upon that. But, seriously though, all of a sudden it's fall, that somehow went fast yet slow with all this craziness. How did that even happen? ha! I'm always hesitant to put fall decor out because the next decor after that is Christmas. And as much as I love Christmas, I absolute despise winter and cold temps. I'm all about the 100+ degree weather. Yep. I'm one of those people :) Well, what seems like a crazy long summer break (March - now), my mind keeps telling me it's fall and that I'm actually ready for it ... before it actually is for once! So, I've brought in a little fall decor in this tutorial :)
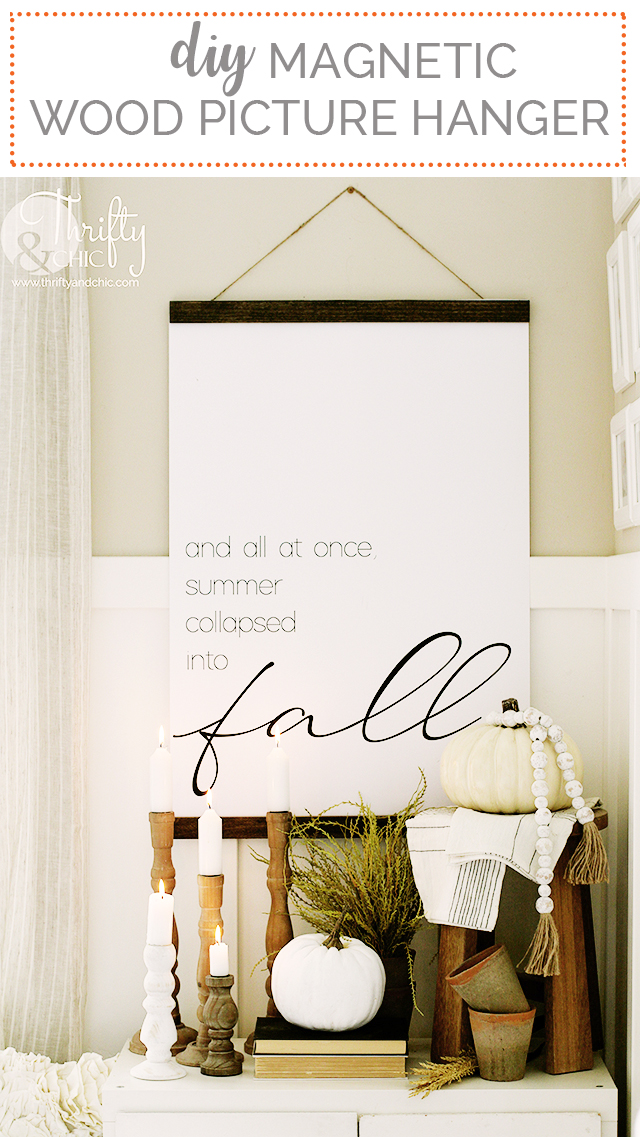
I shared with you my homeschool room last week, and promised a tutorial on how to make these wood hanger frames. They are perfect for posters or larger pictures. I made this sign and had it printed up big just for it.
The actual sign is a black and white engineer print from Office Depot. It's 24x36 and only cost about $3. Serious. With that being so cheap, the hanger has to be cheap too, right? Well, it is :)Supplies:
1" poplar slats from Home Depot (comes in 4' pieces)
Stain
Rope to hang, leather or jute

I found these thin 1" poplar slats from Home Depot for about $2 in the molding aisle. They are 4 feet long each. So, I needed 2 of them to make my 4 pieces. I cut each one at 24" since the top of my sign was that size. I then stained it with Dark Walnut from Minwax.
Next, I went about 2 inches in on each side, and stapled my jute. I first tied a knot, but the knot does get in the way of the magnet sometimes. So, if you do a knot, make sure it is super small, or try to put the staple right in the cord itself. Make sure you cut off the excess after the knot also.
I then cut strips of the magnet and placed it on the non-stained sides of the slats. I lined them up with the second board to make sure when they are closed, they line up and stay on pretty good.
I did this for the top and bottom pairs.
I then lined up my print on the back slats, and aligned the top ones. I did notice that for this thicker paper on my "fall" sign, the magnets weren't wanting to stay as much. Every time the paper slipped, the magnets slipped. So, I did have to use my staple gun again and staple the paper into the back slats. That helped a ton, and then the top slats stayed on like a charm!
My homeschool charts are also engineer prints. I made these up from something I saw on Etsy...otherwise I would share the design with you. This time though, the prints were on super thin paper which made it a ton easier to hang. I didn't have to staple these. I didn't choose the paper though, so I'm not sure what type of paper engineer prints are really supposed to come on.
So, the the total for each of these charts/signs was under $10...maybe closer to $8. This is my new fave way to hang signs, and may be appearing a little more in my decor :) The frames themselves though only cost about $5 each to make.
Next, I went about 2 inches in on each side, and stapled my jute. I first tied a knot, but the knot does get in the way of the magnet sometimes. So, if you do a knot, make sure it is super small, or try to put the staple right in the cord itself. Make sure you cut off the excess after the knot also.
I then cut strips of the magnet and placed it on the non-stained sides of the slats. I lined them up with the second board to make sure when they are closed, they line up and stay on pretty good.
I did this for the top and bottom pairs.
I then lined up my print on the back slats, and aligned the top ones. I did notice that for this thicker paper on my "fall" sign, the magnets weren't wanting to stay as much. Every time the paper slipped, the magnets slipped. So, I did have to use my staple gun again and staple the paper into the back slats. That helped a ton, and then the top slats stayed on like a charm!
So, the the total for each of these charts/signs was under $10...maybe closer to $8. This is my new fave way to hang signs, and may be appearing a little more in my decor :) The frames themselves though only cost about $5 each to make.
My favorite way to hang to hang these is using wood push pins like these. Let me know, have you started your fall decor? I have to admit, I've had pumpkins out for like 2 weeks now :)
Follow me on my social for sneak peaks, live videos, and fun new things that are going on!
Pin for later:
Disclosure of Material Connection: Some of the links in the post above are “affiliate links.” This means if you click on the link and purchase the item, I will receive an affiliate commission. Regardless, I only recommend products or services I use personally and believe will add value to my readers. I am disclosing this in accordance with the Federal Trade Commission’s 16 CFR, Part 255: “Guides Concerning the Use of Endorsements and Testimonials in Advertising.”


Do you have the pdf files for the adorable homeschool prints you made?
ReplyDelete